| |
||||
|
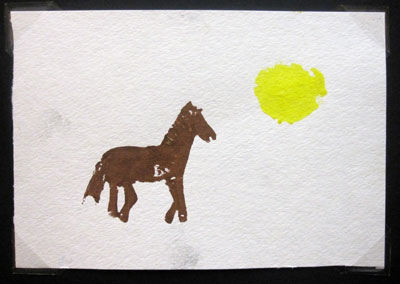
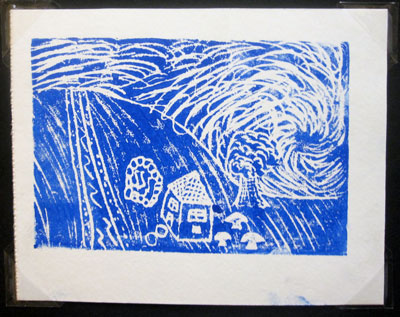
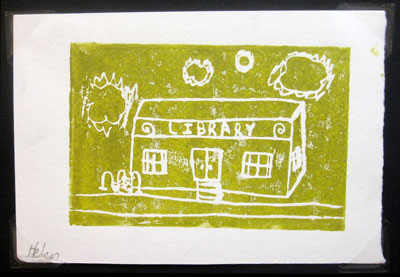
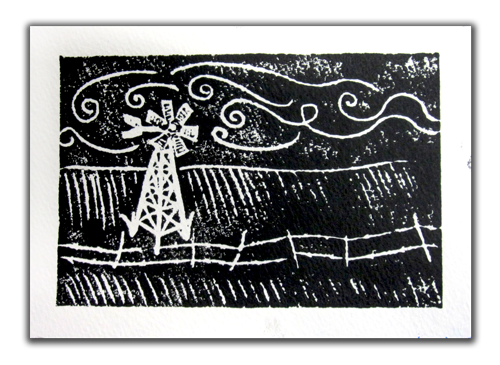
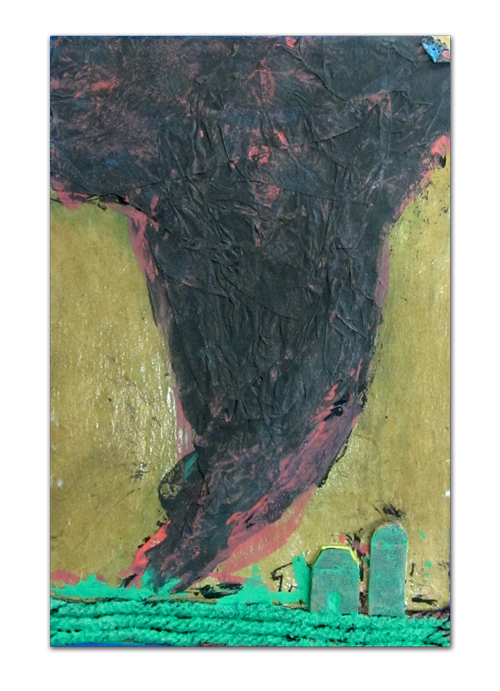
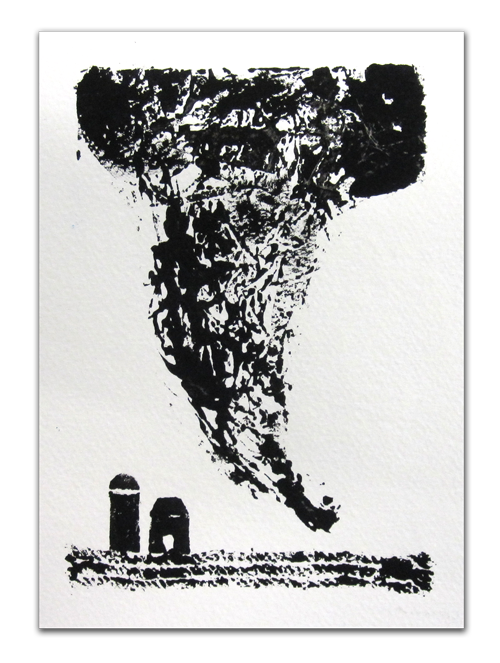
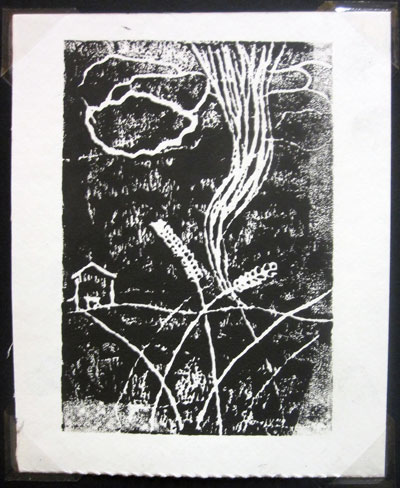
Arrival, Central Court (Time Prior to Class): While looking at the artworks, the teacher will ask the class questions like: What do you see in the foreground? What elements are incorporated into the background? Where do you think this image takes place and why do you come to that conclusion? Are there any objects that you recognize? What is the mood of the piece? How does it make you feel? How does the artist create mood? How does the artist establish a sense of place? How does the artist use line and color? What do you notice about the people in the print? How are they interacting with nature? What do you notice is different about how the ink is applied in each piece? The class will compare and contrast the lithograph print with a relief print. They will also learn about the two processes when looking at the Summer lithograph plate. The students will also comment on why Foltz focuses on the urban praire while Seward's subject matter features a natural environment. Another point of discussion will be about how incorporating humans into a landscape impacts the landscape. The teacher will also ask students to identify which print is their favorite or which technique they are most interested in order to help everyone participate. The teacher will show the students the steps involved in the relief etching process first and emphasize that if they incorporate any text it will need to be reversed on their plate to be readable when printed. During the demonstration, a volunteer is used for a partner to show how one person inks the plate and the other places the paper on it to streamline the reproduction process. For the relief print, the students will be given a foam plate on which they will draw their design by pressing firmly with an ink pen. Once they are ready to print, the student will find their partner. One person inks the plate with a brayer and places it ink side-up on the registration template. Their partner takes a clean sheet of paper, pre-cut to size, places it on top of the inked plate and applys pressure by rubbing with their hands or using a clean brayer. It is important to be careful not to shift the plate during the ink transfer so the final result is not blurred. Next the teacher will show the students how to create a collagraph print. The students will mixing different materials and textures like yarn and fun foam to create another Prairie piece and adhere the items with glue onto a pre-cut cardboard "plate". Once the plate is assembled, a thin layer of Mod Podge will coat the entire plate. After the Mod Podge dries, the student will ink the plate by using a paintbrush to apply tempera paint to the raised textured design. The student's partner will place the paper on top of the wet plate and apply pressure with their hands to transfer the print to the paper. Then the teacher will pair up the students so they know who will be helping them make their editions. The students will choose which type of print they want to make first. If there is time, they can try both methods of printmaking.
The teacher remind students what is going to happen with the editions. They will get to take one of each of their prints home with them that day. Another reproduction of each of their prints will stay at the museum for the spring student exhibition. Finally, the teacher will be mailing the students two of their peer’s postcards randomly as part of a print exchange. By this time, parents should be arriving and the teacher will hand out the letter. As students finish their postcards or after class, the teacher will look at the final products and fill out a checklist for each student to assess their understanding. |
||||
 |
|||
 |
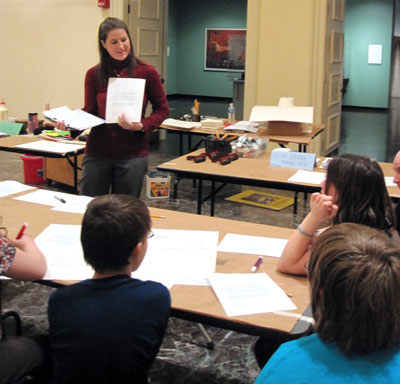 After an introductory welcome, the teacher will hand each student a
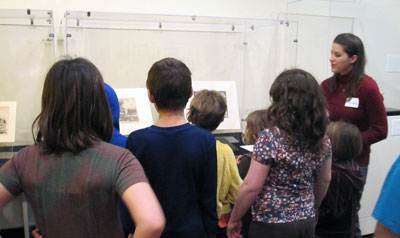
 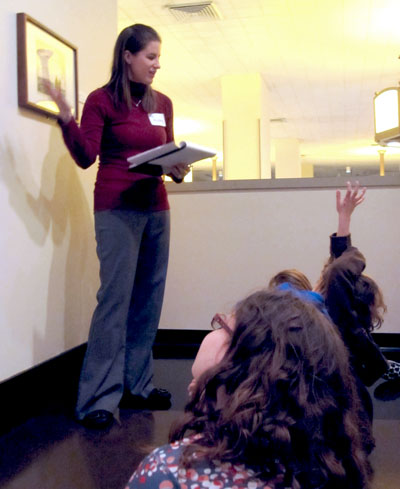 During the gallery portion of the lesson, the class will be looking at two Coy Avon Seward pieces (Summer, 1923, lithograph and Threshing Beans, 1934, linocut) as well as a lithography plate for Summer, and one Lloyd C. Foltz piece (Modern Mills, 1928, lithograph). The teacher will provide additional information on the artists and the pieces as well as have the students identify key elements and design techniques depicted in the art. One of the important points that will be emphasized is that like the students, these artists lived in Kansas and now their works are displayed in art museums so maybe one day the students' work will be featured.
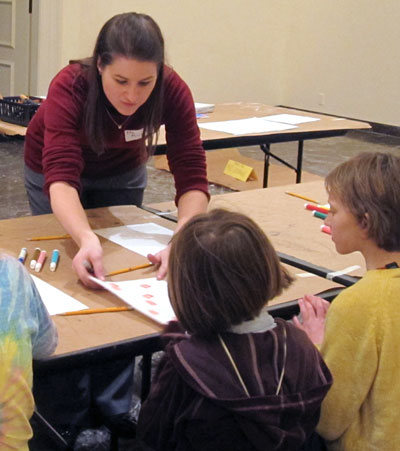 The tables will be set up in two stations, one for each type of printmaking, collagraph and relief etchings, with the needed materials. Students will need to write their message on the back, sign and number the print prior to making it since it won’t dry in time to complete this part at the end of the lesson.
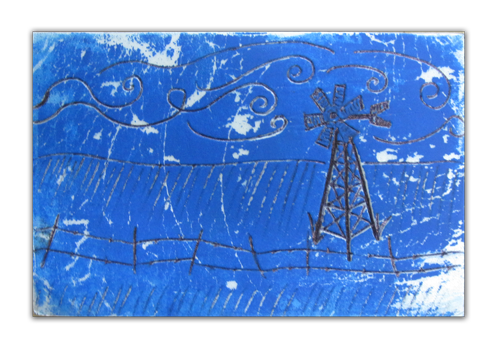
 Work time, Central Court (30 minutes):